The Dabber 2.0
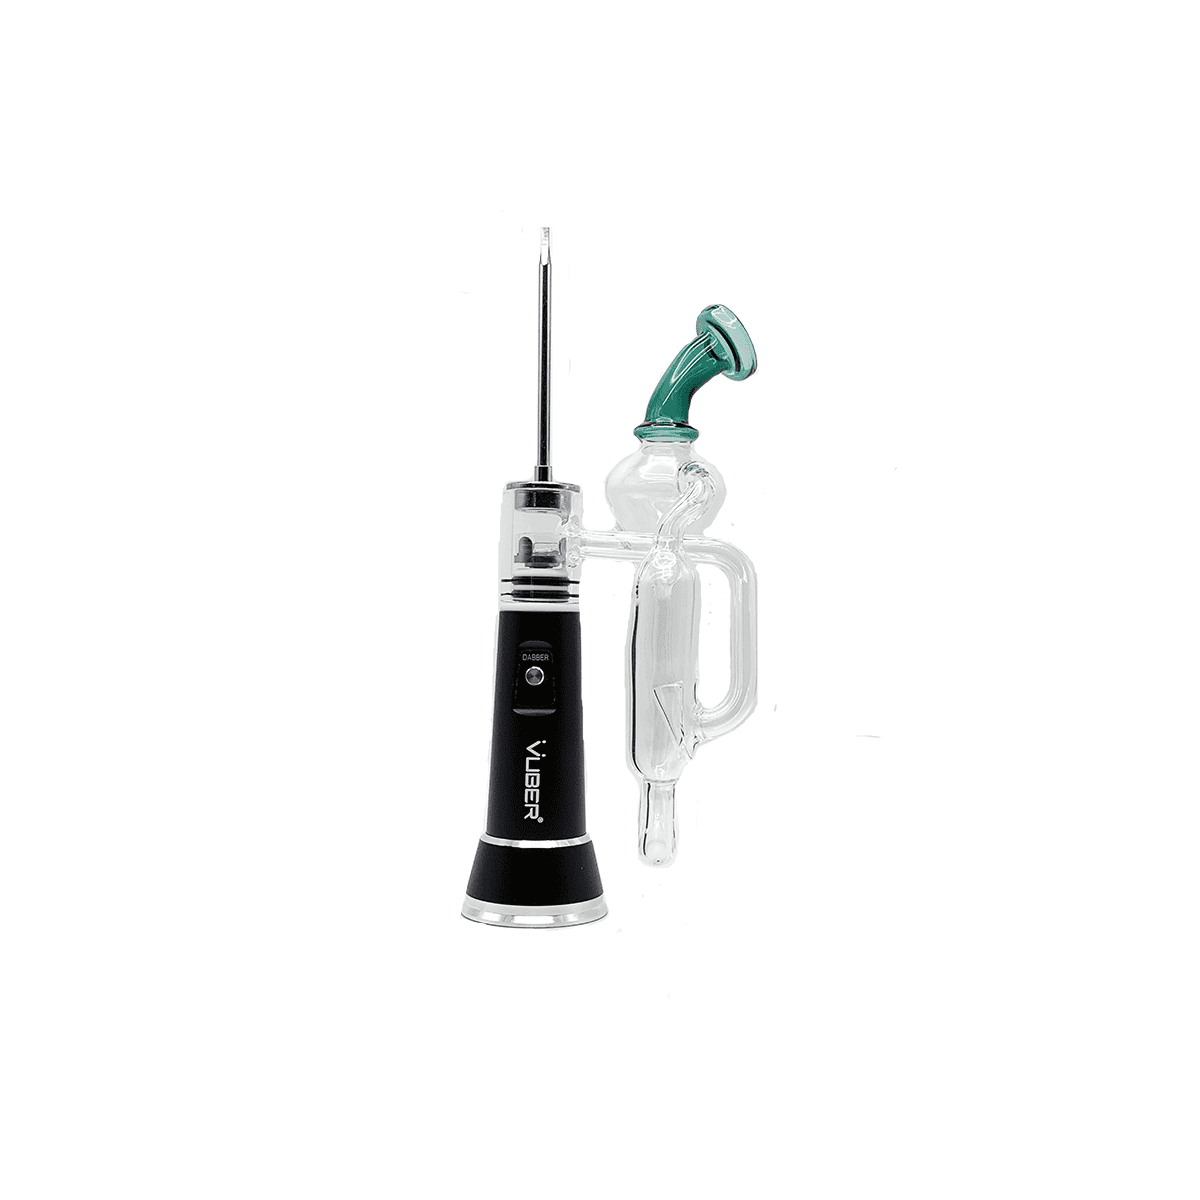
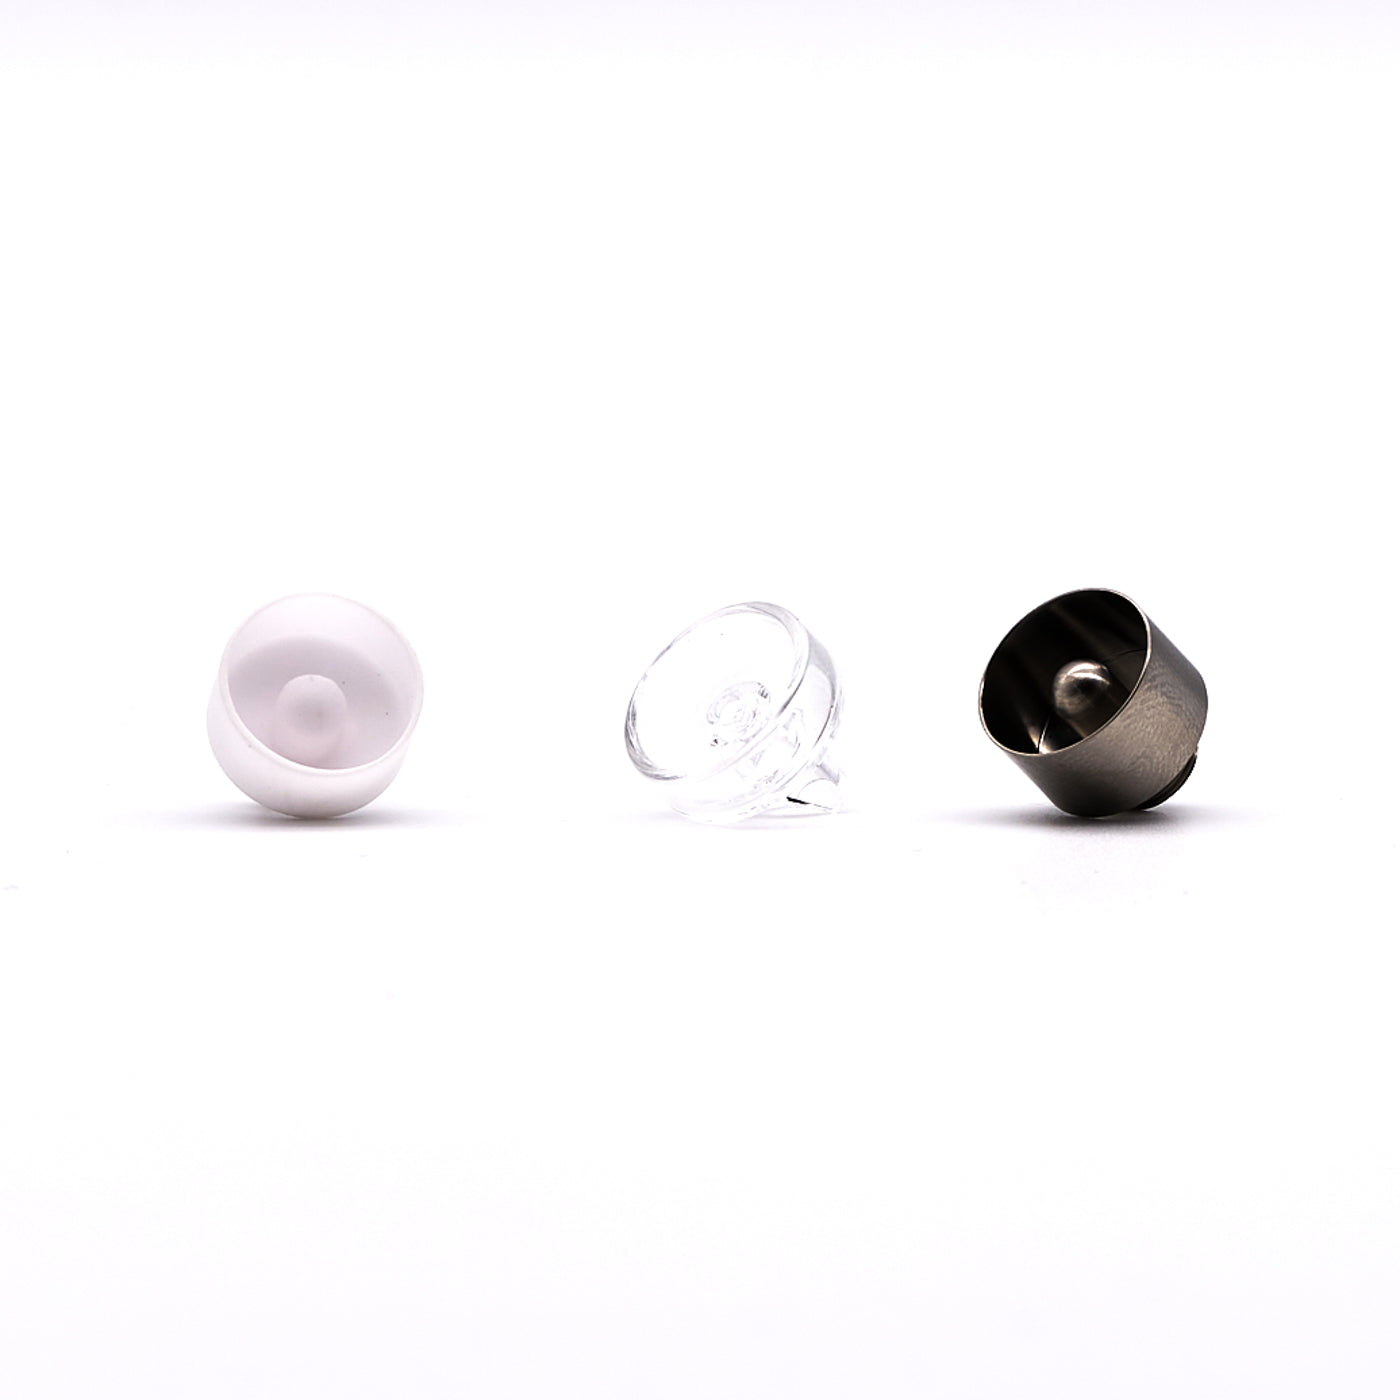
The Dabber 2.0 is a revolution in Vuber’s torchless technology, offering the perfect experience for both new and experienced users. Featuring improved and unique water percolation, the Dabber 2.0 provides three nail types (quartz, titanium, and ceramic) and two heat settings for your preferred heat level. No coils, torches, or butane are needed! Elevate your dabbing experience with Dabber 2.0.
Introducing the Dabber 2.0 by Vuber Technologies: The Ultimate Torchless Dabbing Experience
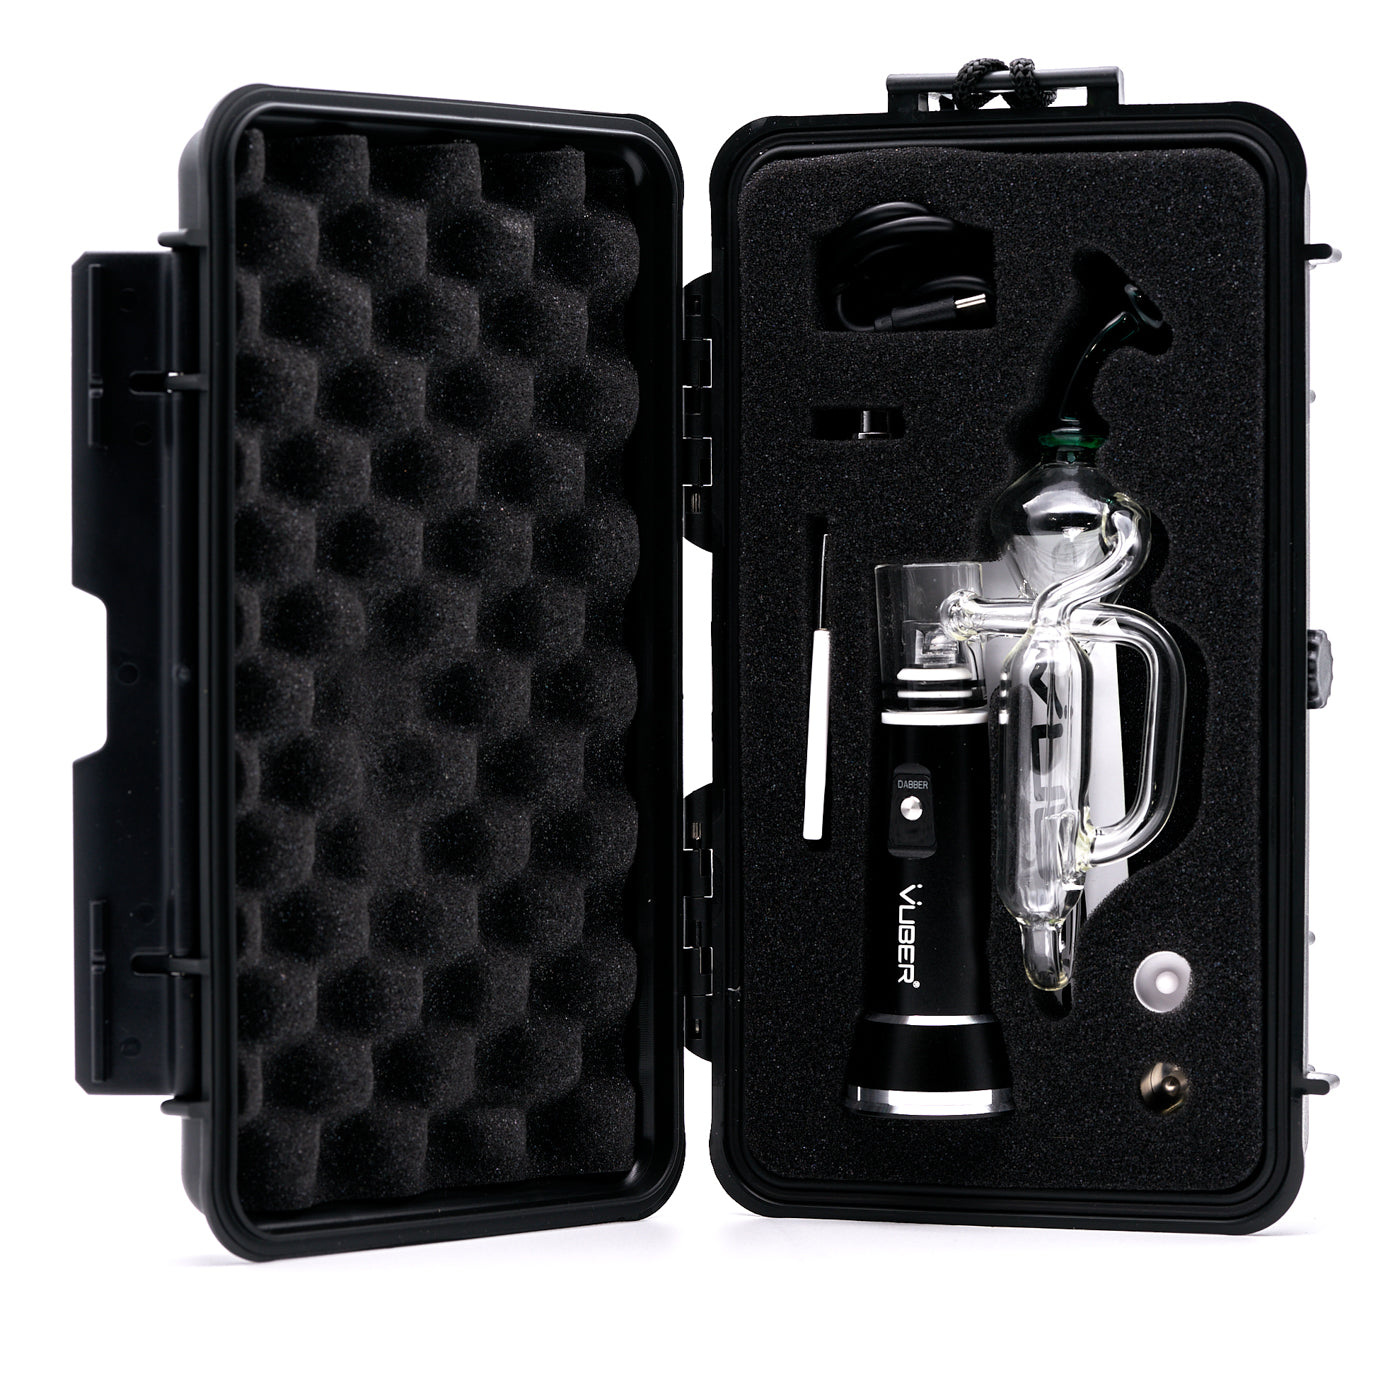
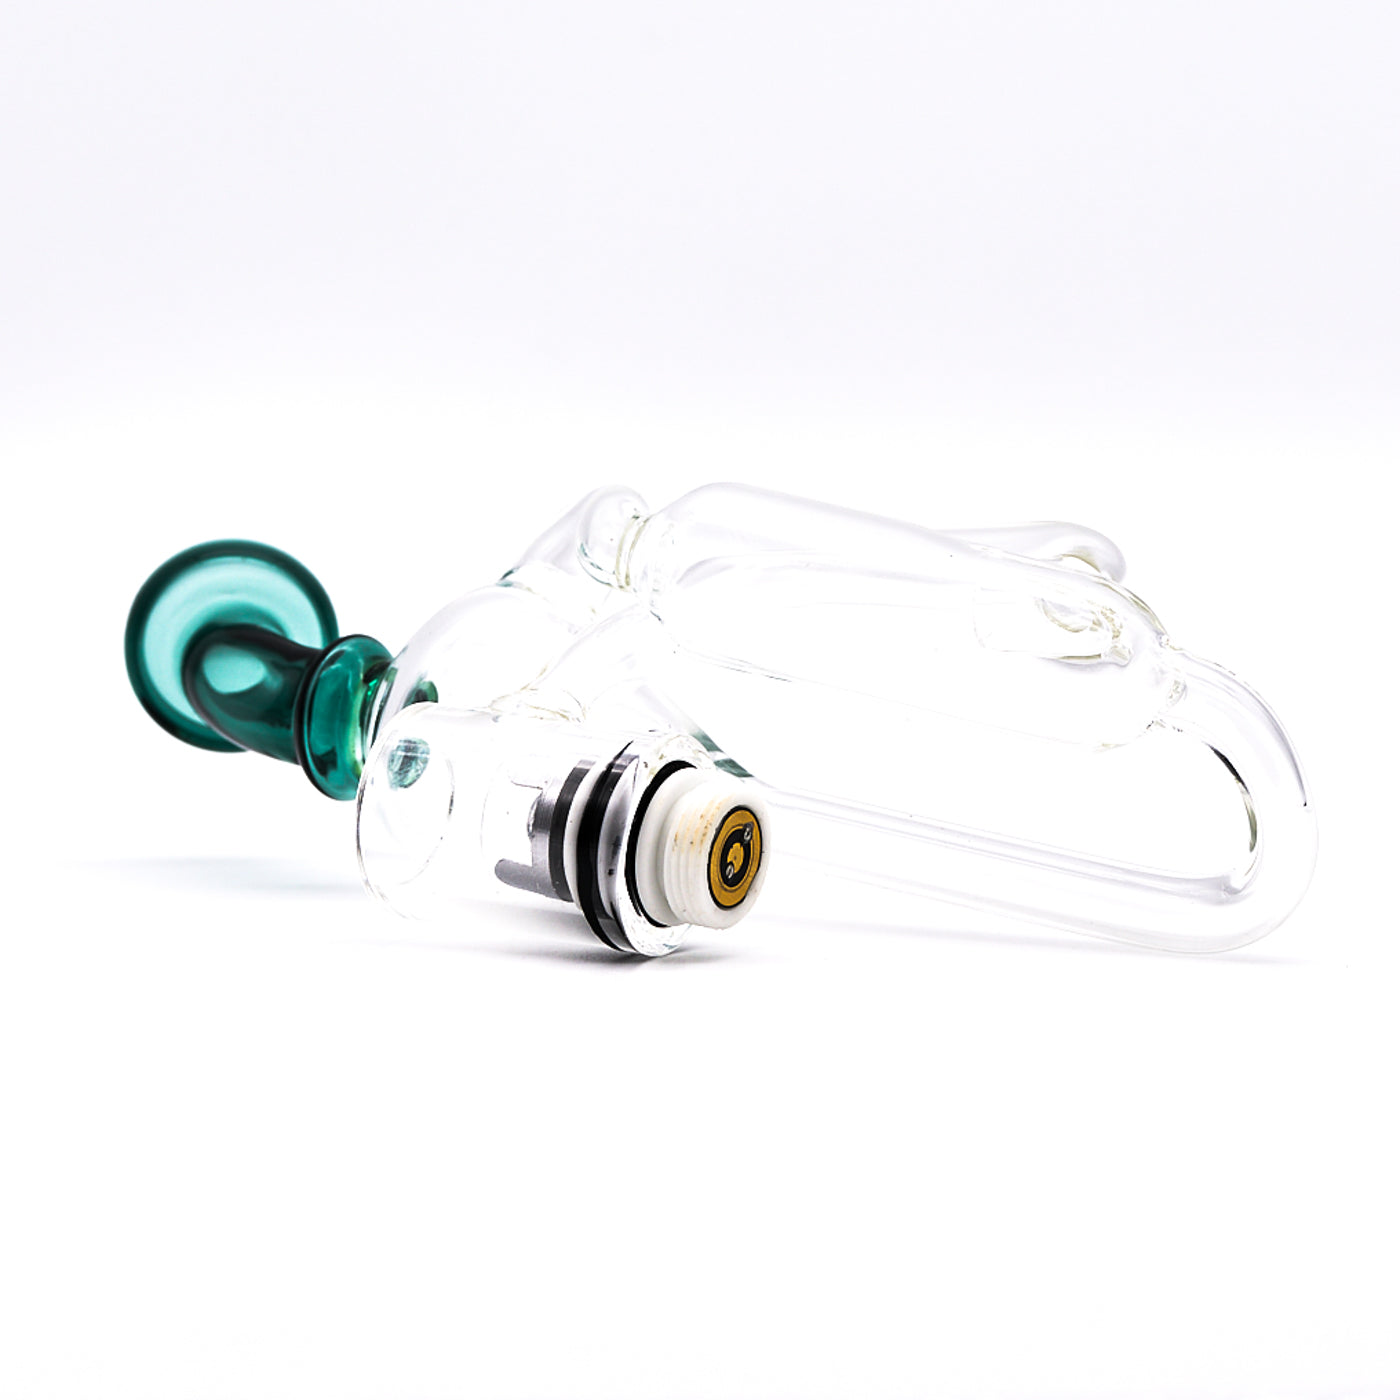
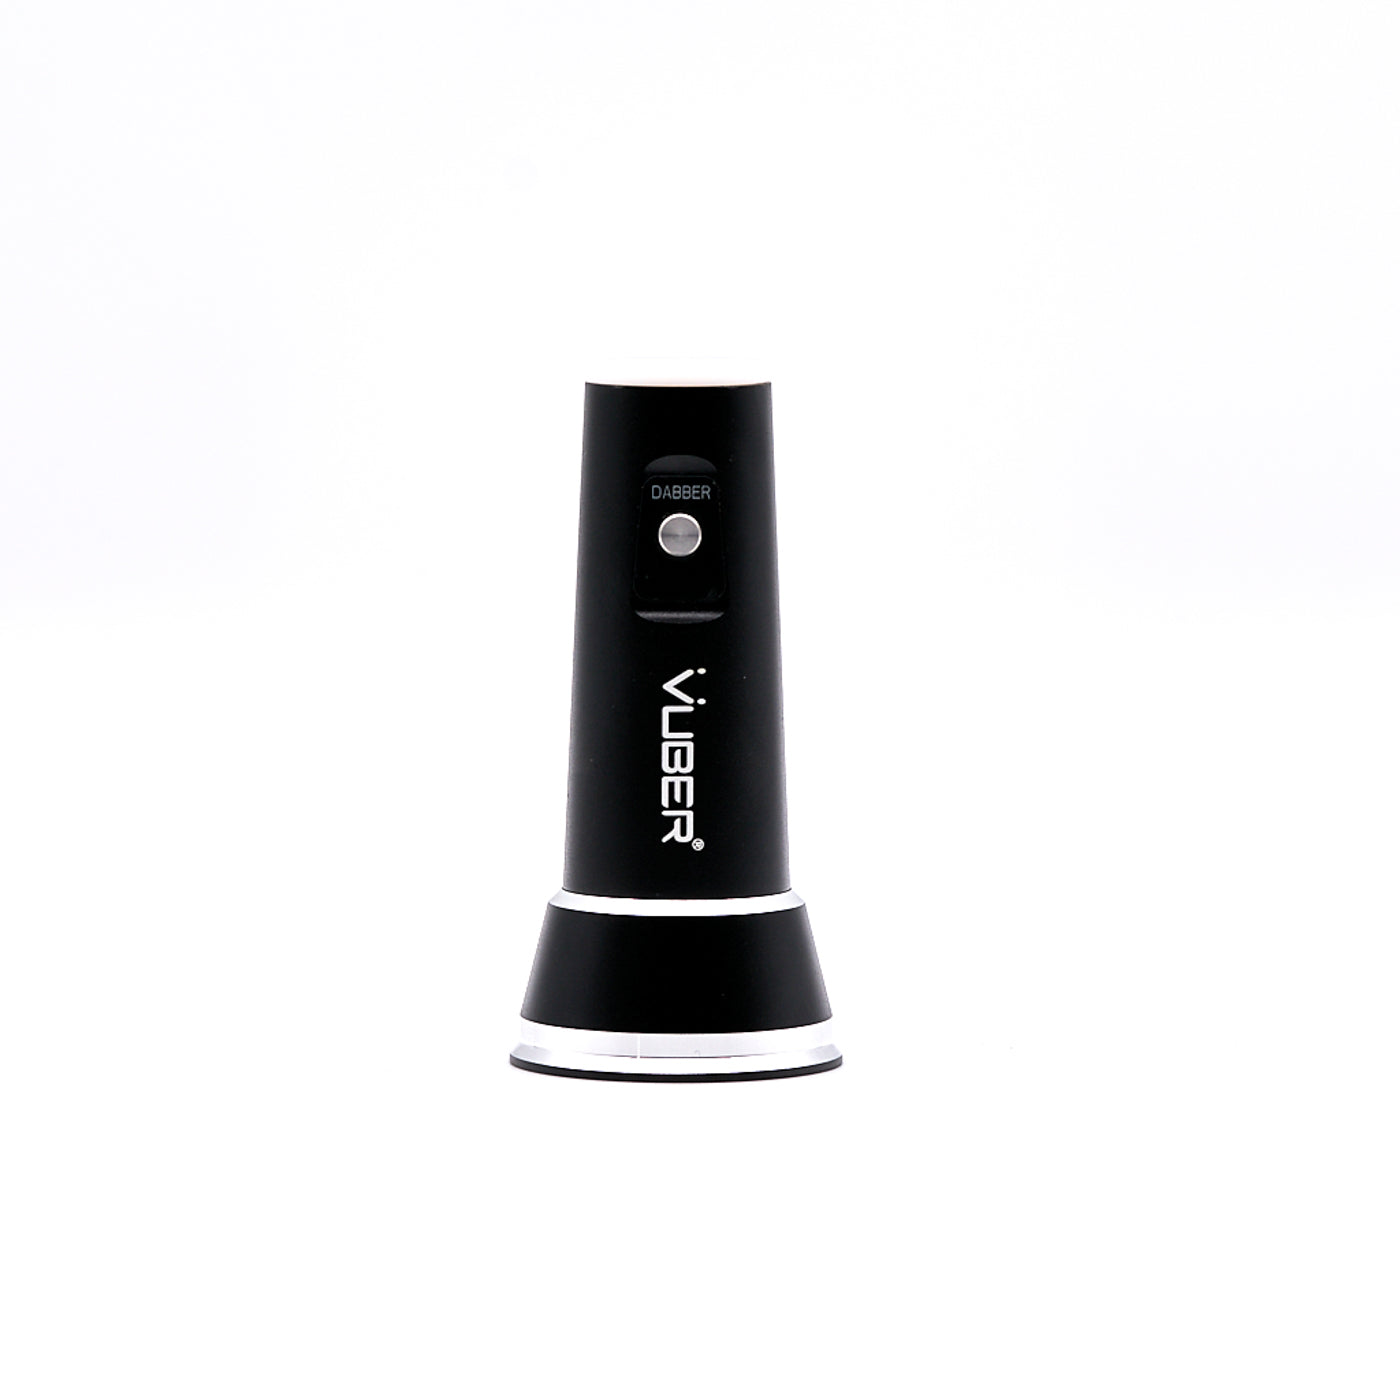
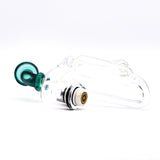
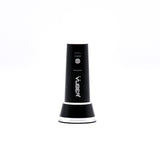
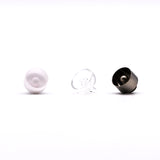
Vuber Technologies has revolutionized the world of portable dabbing with the launch of the Dabber 2.0, an innovative, redesigned portable dab rig that offers a multitude of features for an unparalleled dabbing experience. As a torchless dab rig, the Dabber 2.0 eliminates the need for a torch, ensuring a safer and more convenient experience for users. The Dabber 2.0 is a newly redesigned portable dab rig that features a new base design, a new bubbler attachment with improved airflow, and a ceramic-tipped dab tool. Like the original Dabber, the Dabber 2.0 features two selectable temperatures and includes three nails (Quartz, Ceramic, and Titanium), a magnetic carb cap, and a USB-C cable for rapid recharging of 1500 mAh battery. The Dabber 2.0 also includes a water-resistant hard shell case that holds the unit and its accessories for easy organization and travel.
The Dabber 2.0 is competitively priced at $129.99 and includes all that you need to get started with water-filtered dabs at home or on the go. The battery is also backed by Vuber’s Limited Lifetime Warranty so you can rest easy knowing that you’re covered if there’s a defect with the battery.
How to Use - Dabber 2.0
First, remove the Dabber 2.0 and the accessories from the protective case. It’s recommended to charge the unit before first use, so grab the included USB-C cable and insert the smaller end into the charging port on the back of the battery, then place the other end into a USB port on a charger or device like a laptop. It shouldn’t take long for the battery to reach a full charge; the light will turn green once the battery is fully charged, and will automatically shutoff to prevent overcharging the battery.
Once the Dabber battery is fully charged, you’ll want to remove the glass percolator from the unit – hold the battery in one hand, while having a gentile grip on the glass in the other hand. Pull on the glass gently while turning the glass counter-clockwise and it will start to come off of the o-rings. If you want to change out the nail, now would be the best time to remove and attach a different nail type. Now, fill the percolator with cool water until it’s about 1/3 full. Replace the glass percolator by gently pushing the glass fitting down on the o-rings, with the same motion you used while removing the glass.
If you prefer to “cold load” your dabs before the nail heats, now is the time to do so; gather a small amount of your preferred product onto the ceramic dab tool and place onto the center of the nail. After you’ve completed that, grab the magnetic carb cap and attach the ceramic dab tool to the top – it will magnetically connect so you can use the dab tool as a handle! Now, we’re ready to power on the Dabber 2.0 and start producing some vapor.
Press the power button 5 times rapidly to turn the Dabber 2.0 on/off and the light will light up and blink in red or blue (depending on what temperature was used last); blue indicates a temperature of 550°F, while red indicates a temperature of 650°F. Now, press the button two times to select the temperature you want to use. The light will flash three times in blue or red, indicating that the temperature is set – now press the button three times to begin the heating cycle. After 15 seconds, the light will turn green, indicating that the Dabber 2.0 has reached temperature and is ready to use. If you prefer to dab your product onto a hot nail, now is the time to gather your material and place it onto the nail head.
Once your product begins to melt, make sure you have the carb cap in place, then gently begin to draw on the percolator mouthpiece to begin producing vapor. Remove the carb cab to clear all the vapor out of the percolator. Replace the carb cap and inhale again – the heating cycle will last for a total of 30 seconds. After the cycle has been completed you can press the button three times and the heat cycle will start again. It’s recommended to let the device cool after two consecutive heat cycles to prevent overheating of the device and accessories.
Build Quality - Dabber 2.0
The only part on the Dabber 2.0 that requires some extra care is the glass percolator; like most other glass pieces, this part is very fragile, and you’ll want to handle it with care. The battery and the Dabber 2.0 accessories seem to be well constructed and breakdown for easy storage, and there are just a few parts to the unit itself. The percolator, nails, and heating element are all removeable and replaceable as well, and Vuber carries all the parts needed for the Dabber 2.0.
Power & Performance - Dabber 2.0
The Dabber 2.0 is powered by a 1500 mAh battery and has two pre-programmed temperatures. If you’re looking for more flavorful vapor, it’s recommended to use the 550°F setting and the quartz or ceramic nail; for more vapor production, use the higher 650°F setting with the quartz or titanium nail.
When it comes right down to it, the Dabber 2.0 is no slouch. It’s very easy to get flavorful dabs with a good amount of vapor production – it doesn’t take a lot of material either. You can get great vapor out of a dab the size of a grain of rice or two and work your way up if needed. It’s best not to start with a large amount, as this can overfill the nail and cause poor vapor production. For something this small and compact, the Dabber 2.0 delivers tasty dabs that both new and seasoned users will enjoy.
Ease of Use - Dabber 2.0
Thanks to the included accessories, the Dabber 2.0 comes with all you need (except concentrate material) to get started dabbing at home or on-the-go. The Dabber 2.0 is easy to turn on, and it only takes two presses of the button to select your temperature, and three presses of the button to start the heat cycle. Once the Dabber 2.0 reaches temperature you can drop your concentrate material on the nail (unless you already cold-loaded), replace the carb cap, and draw vapor from the mouthpiece.
Cleaning the included parts and accessories is a breeze as well since they can be cleaned with isopropyl alcohol. The only parts that you’ll regularly need to replace will be the nails – it’s best to replace these after regular use, but they can still be cleaned with a little bit of iso alcohol on a cotton swab.
Portability and Discretion - Dabber 2.0
When it comes to portability, the Dabber 2.0 excels thanks to its small design and included carrying case. It’s easy to pack in a backpack for a day trip, or into luggage for extended travel. It weighs only 7 ounces when assembled with accessories, so it’s very light and easy to handle.
As far as discretion is concerned, the Dabber 2.0 is fairly small and easy to conceal. With that being said, it’s likely not something that you’d be able to carry around in a pocket very easily, it’s best when packed in its case. Additionally, with the glass attachment it leans toward looking like a cannabis or smoking device, but it’s not the flashiest device so it won’t attract too much attention in public.
Final VerdictThe Dabber 2.0 is a fantastic little dabbing device – it features plenty of power for dabbing while on the go, and includes all of the needed accessories to get you started. It’s small enough in stature that it won’t take up too much space on your desktop or table and includes a carrying case to make it easier to pack down for travel and protection. Priced at $129.99, the Dabber 2.0 packs a lot into a small design and delivers flavorful, vapor packed dabs while at home or on the go. It would be a great purchase for those looking to get started with dabbing or for veteran dabbers looking for more portability.
Product Manual:
Download Here


